
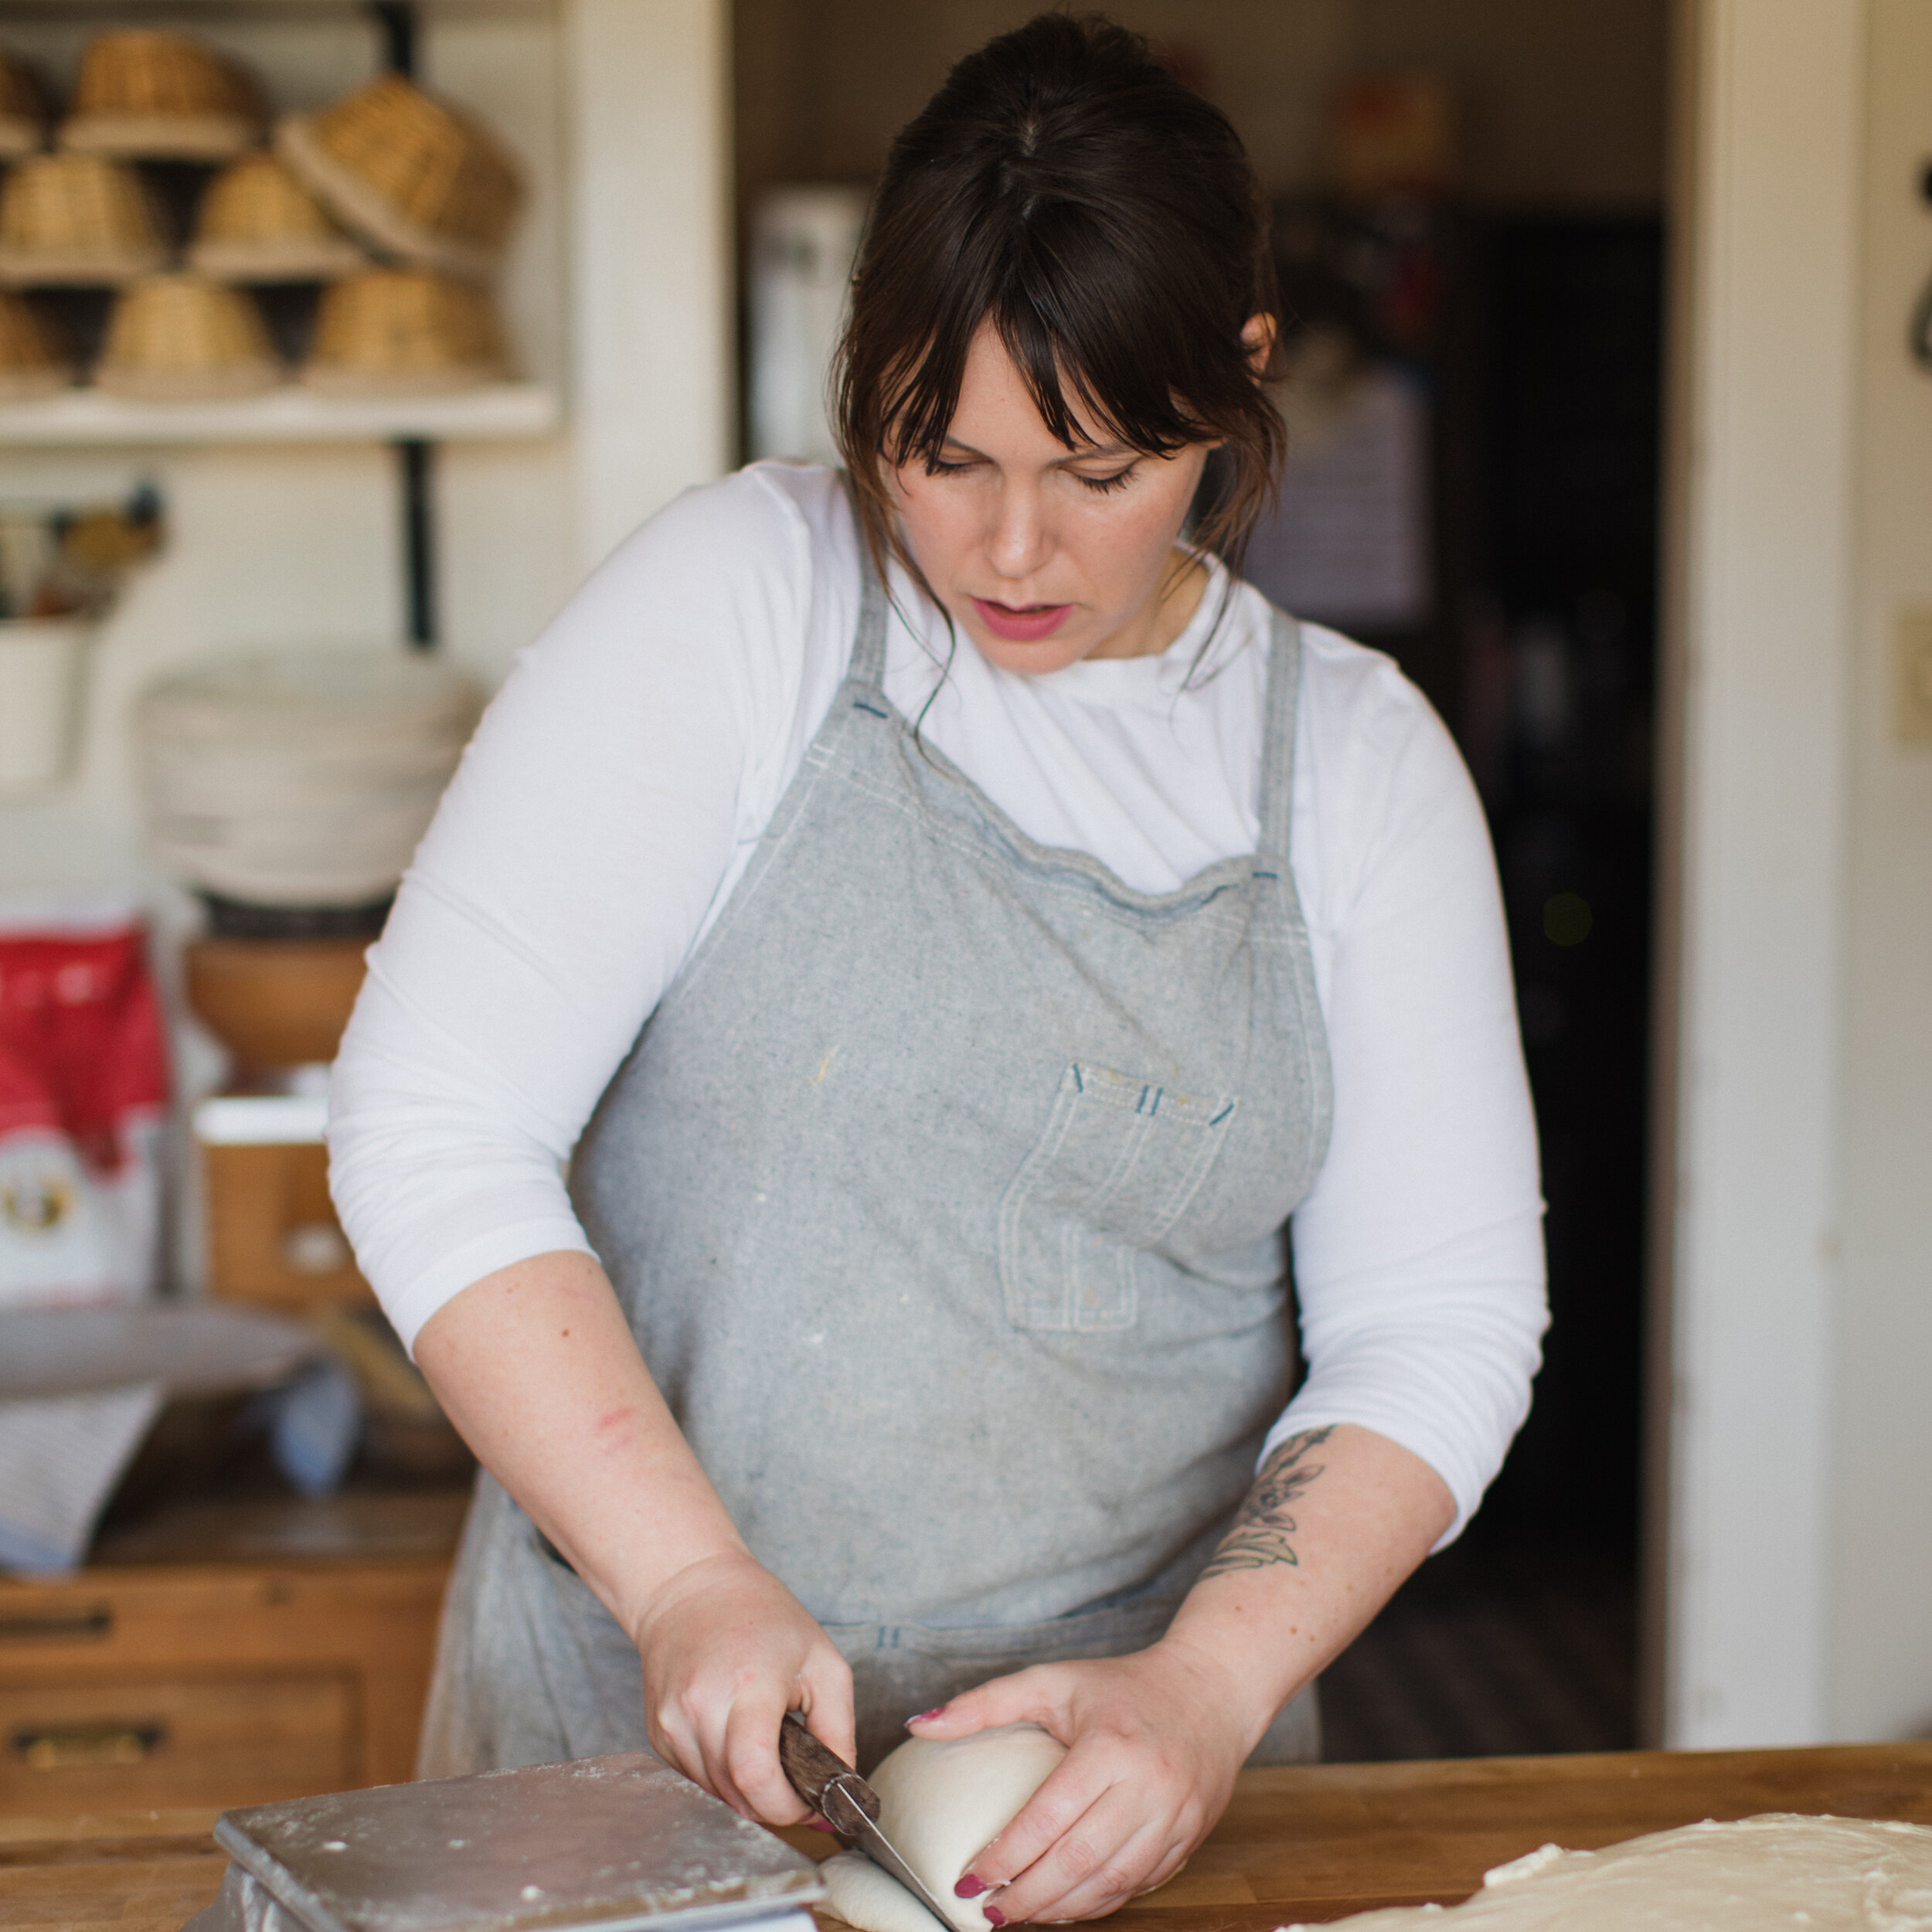
One of the more common questions I get on social media from new bread bakers is about which tools are absolutely essential to get started. Here are my recommendations:
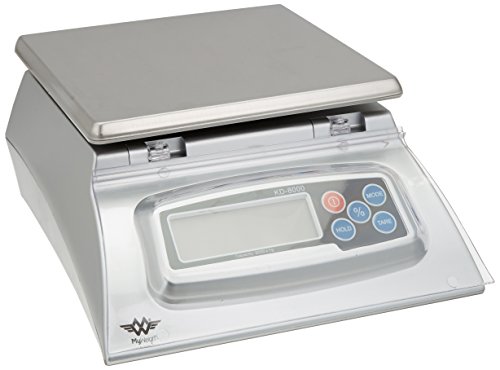
A digital kitchen scale. We often say that baking is a science, accuracy, and precision are important! Using a scale is a great way to eliminate errors in the measuring process and ensure your baking comes out great every time. All professional bakers use a scale (you won’t see them adding together hundreds of “cups” of flour to make a large batch of dough!) You can certainly get a cheaper scale, but there are a few reasons I recommend this particular one: it holds up for a very long time, it weighs up to 8000 grams (when you scale up your baking you won’t have to buy a new scale if you start with this one) and it takes regular double a batteries. (many scales take an obscure watch or disc battery, which you aren’t likely to have on hand when your battery dies in the middle of a baking project). I’ve been weighing about 120 loaves a week on this scale for over 6 years and it’s holding up just fine, just keep water and flour our of your battery compartment and it will survive the test of time and be a great investment. Once you start weighing your ingredients, you won’t want to go back to measuring cups ever.
2. I highly recommend getting a thermometer. Remember how we were just talking about the importance of accuracy? (Were your eyes glazing over?) Bread dough performs it’s best within a particular temperature range. In an ideal scenario, our environments would always be a perfect 75-78 degrees, or as bakers call it “desired dough temperature”. Until we engineer a perfect world, we’ll have to use a thermometer and make adjustments to get the desired results. When I was a beginner baker I had put in a lot of practice and done a ton of reading, but it was when I got a thermometer and started tracking my temperatures that I finally saw truer consistency in my bread. An instant-read thermometer will end up being handy around your kitchen for plenty of other projects too, so it will be a wonderful investment and should last forever, especially since this one is waterproof (surprisingly important!)

Ok, are we still talking about nerdy things like accuracy, precision and consistency? Kind of! The last tool I would recommend for getting started with bread baking is a simple cast iron dutch oven. The issue with most home ovens (even new ones!) are that they struggle to deliver strong, consistent heat in all directions, and they don’t seal well so they can’t contain steam very well. Unfortunately these are exactly the things we need to make great bread! One way to get around this is to bake your loaf in a preheated dutch oven. Cast iron has excellent heat retention so it creates a perfect tiny oven for you loaf, and the lid seals tightly and retains the moisture and steam inside your loaf during the initial bake. This is a pretty affordable hack to make great bread, and a dutch oven is an all around all purpose kitchen tool. This Lodge model is the one I use, it’s nice a roomy for making large loaves, the handle is easy to grab (surprisingly important when things are really hot) and while enamel is very pretty, this cast iron is a great work horse.

With just these 3 tools, you will have a great start to your bread journey! Happy Baking!
Looking for more fun bread baking tools? Check out my exhaustive materials list
If you need more guidance you can check out my book Bread Baking for Beginners
More of a visual learner and want me to guide you through every recipe in the whole first chapter in my book? You can take my online video class